
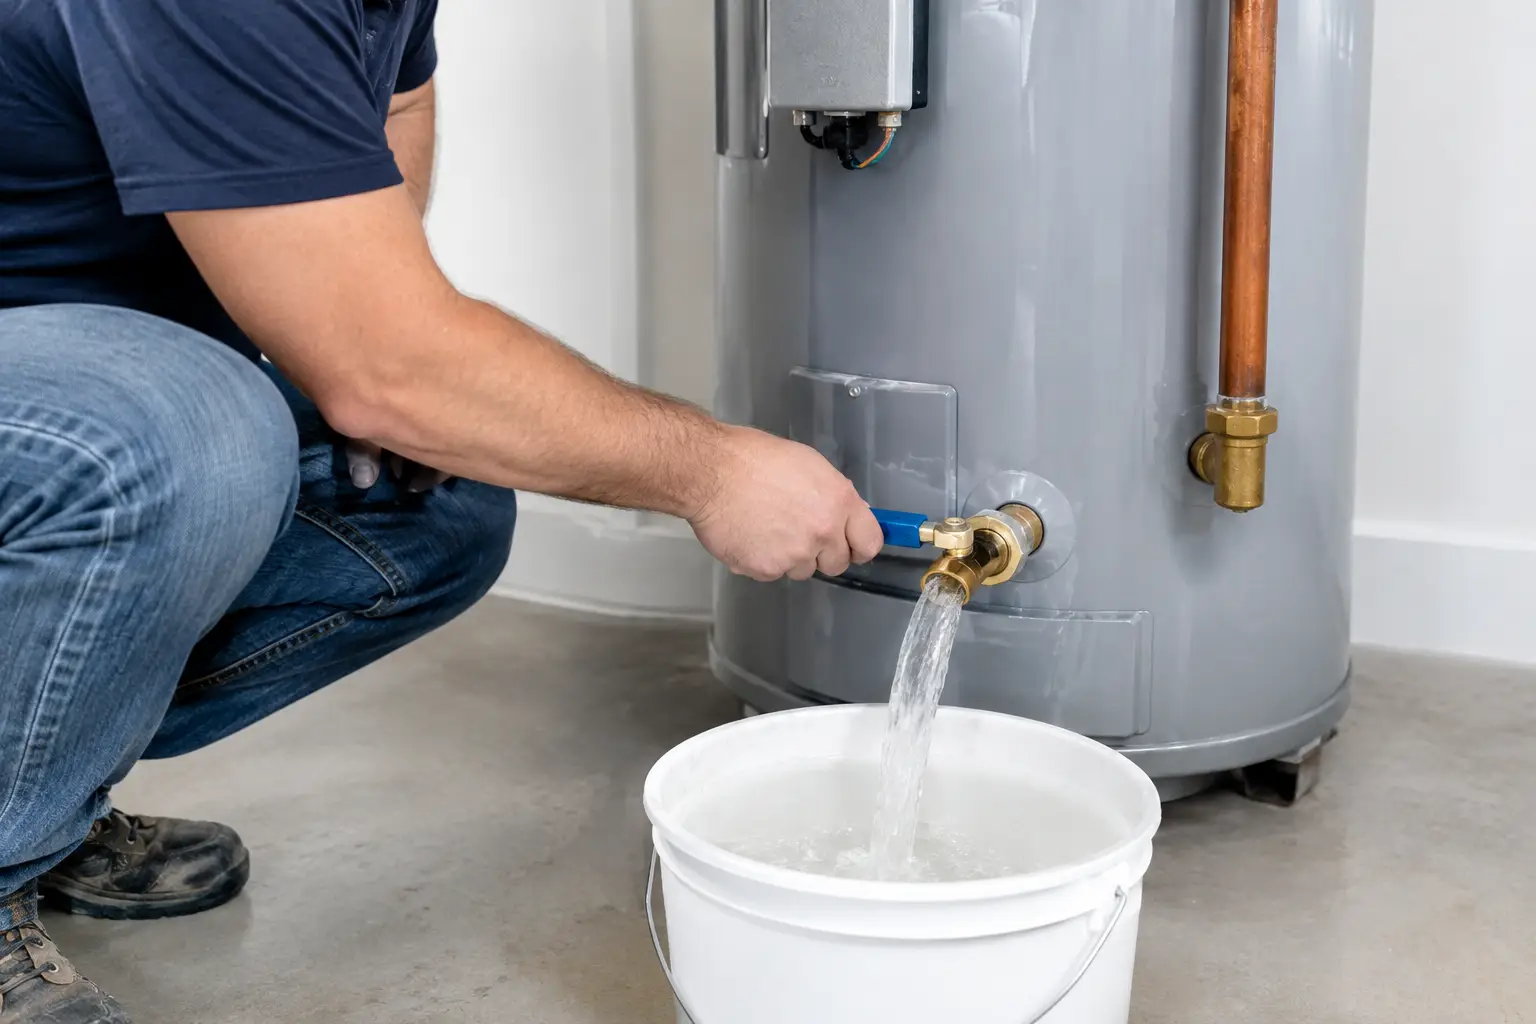
A water heater can keep producing hot water long after sediment has started collecting at the bottom of the tank. That is why many homeowners do not think to flush sediment from water heater tanks until they hear popping noises, run out of hot water too quickly, or notice rising utility bills. A planned flush can help a conventional tank water heater heat more efficiently and may reduce unnecessary wear on the system.
Sediment is not always a sign that something is broken. It is usually made up of minerals and small particles that enter through the water supply. Over time, those materials settle in the tank. In Cape Cod homes, water conditions can vary by neighborhood and water source, so the amount of buildup and the right maintenance schedule can vary as well.
Why sediment buildup deserves attention
A layer of sediment acts like insulation between the burner or electric heating elements and the water inside the tank. The system must work harder to deliver the same amount of hot water. On a gas water heater, trapped water beneath the sediment can create a rumbling or popping sound as it heats. Electric models may develop reduced efficiency or put extra strain on their heating elements.
Buildup can also reduce the effective capacity of the tank. A 50-gallon water heater with a substantial sediment layer does not hold a full 50 gallons of usable hot water. That can be noticeable during morning showers, laundry, or periods of high demand in a busy household or rental property.
Flushing is preventive maintenance, not a cure for every water heater problem. If the tank is leaking, the water is rusty throughout the home, or the unit repeatedly trips a breaker or shuts down, it needs a proper inspection. Draining the tank will not repair corrosion, a failing valve, a damaged heating element, or an aging unit at the end of its service life.
Before you flush sediment from a water heater
Start by checking the age and condition of the water heater. The manufacturing date is often encoded in the serial number on the data plate. If the unit is older, has never been maintained, and already shows signs of corrosion or leakage, opening the drain valve can sometimes reveal an existing problem. Older plastic drain valves are especially prone to clogging or failing to close completely after use.
A basic flush requires a garden hose, a bucket if needed, and access to a safe drain location. The discharge water can be very hot, so do not direct it onto a lawn, delicate landscaping, or an area where children or pets may walk. A floor drain, utility sink, exterior drainage area, or driveway may work, depending on the layout of your property and local conditions.
Do not begin if you are unsure whether your heater is gas or electric, if the drain valve looks corroded, or if there is no safe place for the water to go. Water heaters involve scalding temperatures, fuel connections, electrical components, and pressure relief devices. A licensed plumber can handle the service without turning a small maintenance task into a flooded utility room.
How to flush sediment from water heater tanks safely
The goal is to move water through the bottom of the tank and carry loose sediment out with it. The process is straightforward when the equipment is in good condition, but it should be done carefully.
1. Shut off the energy source
For an electric water heater, turn off the appropriate breaker before draining any water. Electric elements can burn out quickly if they are energized while the tank is empty or partially empty.
For a gas model, set the gas control to the pilot or vacation setting according to the manufacturer’s instructions. Do not disconnect gas piping for a routine flush. If you smell gas at any point, leave the area and contact a qualified professional or your gas utility.
2. Let the water cool and stop the cold-water supply
Give the tank time to cool before draining it. Hot water from a water heater can cause serious burns. Once the water has cooled to a safer temperature, turn off the cold-water supply valve above the tank.
Open a hot-water faucet at a nearby sink or tub. This helps relieve pressure and allows air into the system as the tank drains. Do not use the temperature and pressure relief valve as your first choice for venting unless you know it is functioning properly. That safety valve can leak if it is old or compromised.
3. Connect a hose and drain the tank
Attach a garden hose securely to the drain valve near the bottom of the water heater. Run the other end to the chosen drain location, keeping the hose as straight as possible to avoid kinks.
Open the drain valve slowly. At first, the water may look clear, cloudy, or discolored. Allow it to run until the flow slows significantly or the tank is mostly empty. If the valve will not flow, sediment may be blocking it. Forcing the valve or poking objects into it can damage the valve and create a leak.
4. Use short bursts of cold water to rinse the bottom
With the drain valve still open, briefly turn the cold-water supply back on. The incoming water stirs loose material at the base of the tank and pushes it through the hose. Turn the supply off again, then repeat this rinse several times until the discharge is reasonably clear.
Do not expect every mineral particle to disappear, particularly from an older water heater with heavy buildup. The objective is to remove loose sediment and restore better flow, not to scrape the interior of the tank clean.
5. Refill completely before restoring power
Close the drain valve firmly, remove the hose, and turn the cold-water supply back on. Keep the hot-water faucet open until it runs in a steady stream without sputtering. That confirms the tank is full and air has been pushed out of the plumbing.
Check the drain valve, supply connections, and floor around the heater for leaks. Only after the tank is completely full should you turn the breaker back on for an electric model. For gas units, return the control to its normal setting and follow the manufacturer’s relighting instructions if needed.
How often should a water heater be flushed?
For many homes, an annual flush is a reasonable starting point. Homes with noticeable mineral content in the water, large families, frequent hot-water use, or a history of sediment may benefit from more frequent service. In contrast, a newer water heater with low sediment levels may only need a check and light flush on a regular maintenance schedule.
The best schedule depends on what comes out of the tank and how the water heater performs between visits. If draining produces significant grit, the heater makes persistent popping sounds, or hot water recovery has slowed, it is worth having a plumbing professional assess the unit and the water conditions rather than simply flushing it more often.
When flushing is not the right fix
Call for service rather than attempting a flush if you see water around the base of the tank, corrosion at fittings, a leaking drain valve, or rust-colored hot water that continues after the tank has been drained. These can point to a failing tank or a component that needs replacement.
A water heater that is more than a decade old deserves extra caution. Flushing may still be useful, but an older tank with years of undisturbed buildup can have weakened components. If the drain valve clogs, the tank will not refill, or a leak appears after maintenance, shut off the water supply to the heater and arrange an inspection.
For property managers and commercial owners, water heater maintenance should also account for demand. A tank that runs continuously to support multiple bathrooms, laundry equipment, or a commercial space may need a larger capacity, a different recovery rate, or an upgraded system rather than repeated flushing alone.
A properly performed flush is one practical way to protect a tank-style water heater, but it should never be a gamble with hot water, gas, or electricity. When the tank is aging, the valve is questionable, or the symptoms do not improve, a licensed technician can determine whether maintenance, repair, or replacement is the safer and more cost-effective next step.