A heat pump is not just another piece of HVAC equipment. It becomes your home’s primary source of heating and cooling, so a guide heat pump installation should begin with the house itself, not a quick equipment quote. On Cape Cod, that means considering winter temperatures, coastal salt air, existing ducts, electrical capacity, insulation, and how each room is actually used.
The right system can provide efficient comfort through all four seasons. The wrong size, poor placement, or rushed installation can leave you with uneven temperatures, higher operating costs, and a system that does not deliver the savings you expected. A professional assessment puts the major decisions in the right order.
Start With a Home Assessment, Not a Square-Foot Estimate
Square footage is only one part of heat pump sizing. Two similarly sized homes in Barnstable or Falmouth may need very different systems because of ceiling height, window quality, air leakage, insulation levels, sun exposure, and the number of people using the space.
A qualified contractor should calculate the home’s heating and cooling load rather than rely on a rule of thumb. Oversizing is not a safer choice. An oversized heat pump can turn on and off too often, reduce humidity control in summer, and create inconsistent comfort. An undersized system may struggle during the coldest weather and rely too heavily on backup heat.
The assessment should also identify rooms with recurring comfort problems. A cold bedroom over a garage, a hot second floor, or a finished addition may need a different approach than the main living area. Those details help determine whether a ducted system, ductless mini splits, or a combination of both makes the most sense.
Choose the Right Type of Heat Pump
Heat pumps move heat rather than create it by burning fuel. In heating mode, they pull available heat from outdoor air and transfer it indoors. In cooling mode, they work much like an air conditioner, moving indoor heat outside.
For many Cape Cod properties, an air-source heat pump is the practical starting point. Modern cold-climate models are designed to operate efficiently in low outdoor temperatures. However, the best equipment setup depends on the building and the homeowner’s goals.
Ducted Heat Pumps
A ducted heat pump uses the home’s existing ductwork or new ducts to deliver conditioned air throughout the house. It can be a strong option when the ducts are properly sized, sealed, insulated, and in good condition.
Existing ductwork should be inspected before installation. Leaky or poorly designed ducts can waste conditioned air and make a high-efficiency heat pump perform like a lower-efficiency system. In some homes, duct repairs or duct cleaning are worthwhile parts of the project.
Ductless Mini Splits
Ductless systems use wall-mounted, floor-mounted, or ceiling-mounted indoor units connected to an outdoor unit. They are especially useful in older Cape homes without ductwork, additions, converted attics, and rooms that need independent temperature control.
A ductless installation is not automatically the right answer for every room. Indoor unit placement matters. The unit needs clear airflow and a location that can distribute heating and cooling effectively without blowing directly at a bed, sofa, or dining table.
Dual-Fuel and Backup Heat Options
Some homeowners keep an existing furnace or boiler as backup heat. This is often called a dual-fuel setup, and it can be a sensible choice when an existing system is in good condition or when a property has unique cold-weather demands.
Whether backup heat is necessary depends on the heat pump’s cold-weather capacity, the home’s design temperature, utility costs, and your comfort preferences. The answer is not the same for every property. A properly designed cold-climate heat pump may cover most or all of a home’s heating needs, while another home may benefit from a backup source for the coldest days.
Plan for Electrical Work and Outdoor Placement
Heat pump installation usually requires electrical planning. The outdoor unit needs a dedicated circuit and an exterior disconnect. Older homes may need an electrical panel evaluation to confirm there is enough capacity for the new equipment, particularly if other electrification upgrades are planned.
This should be addressed before installation day, not after the equipment arrives. A contractor can coordinate the work needed and explain whether a panel upgrade is required, recommended for future projects, or unnecessary.
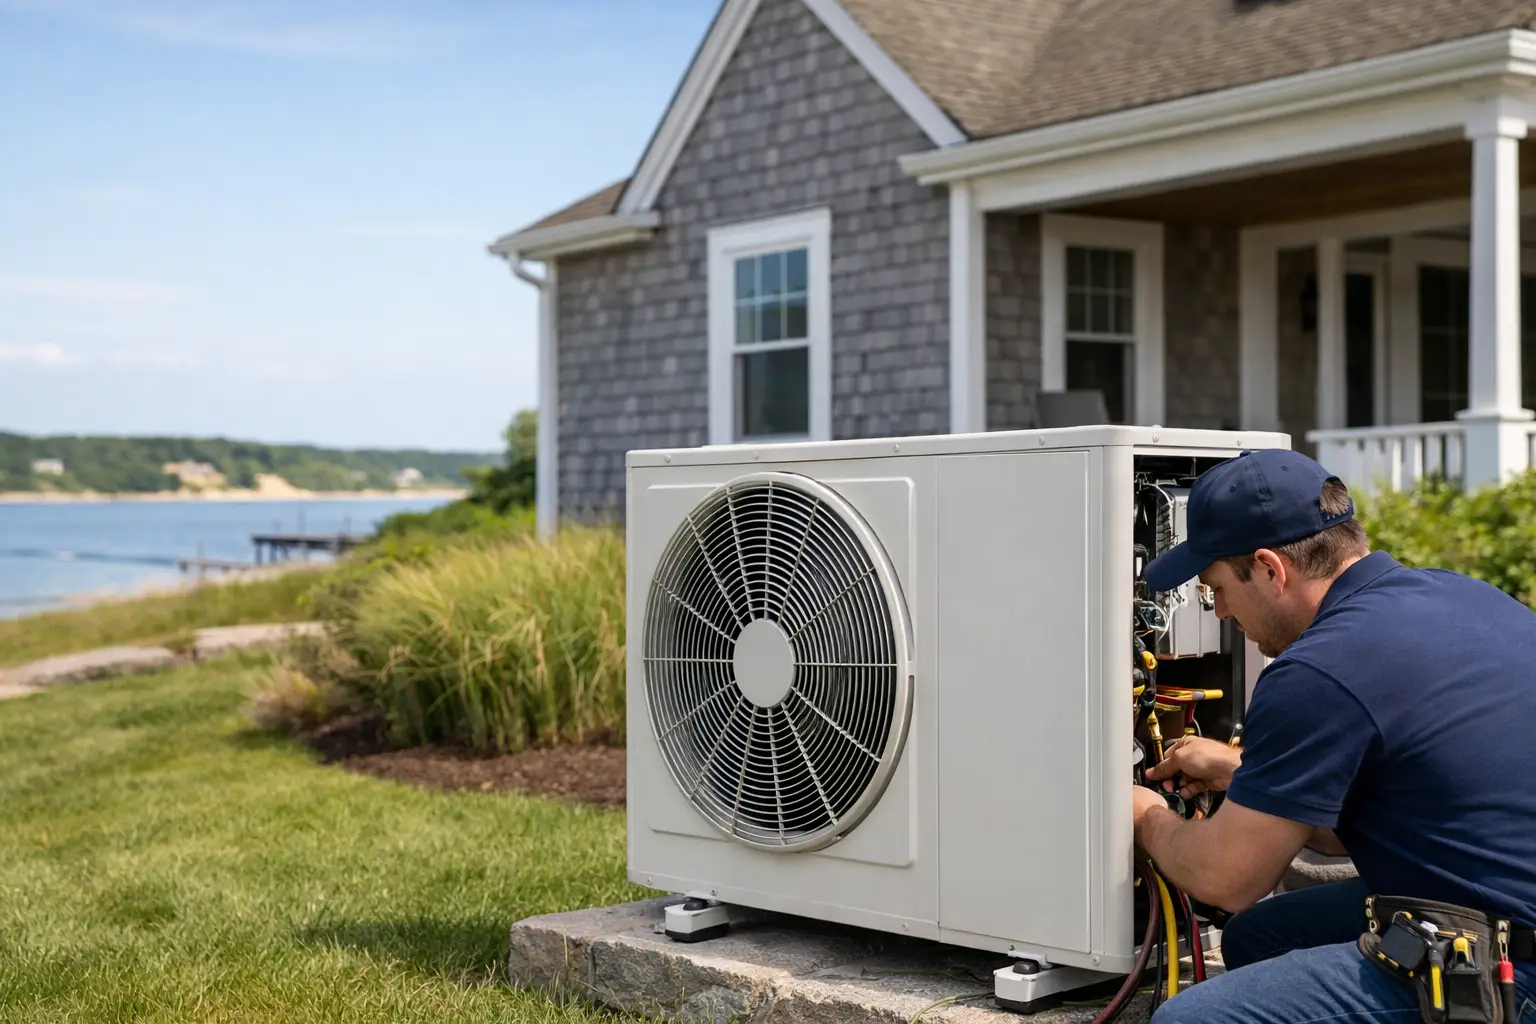
Outdoor unit placement deserves equal attention. The unit needs stable support, adequate clearance for airflow, and a location that allows technicians to service it. In coastal Massachusetts, it should also be positioned with exposure to wind-driven snow, roof runoff, and salt air in mind.
Do not place an outdoor unit where snow or ice sliding from the roof can damage it. A raised pad or properly designed stand may be needed to keep the unit above expected snow accumulation and allow defrost water to drain away. Noise is generally low with modern equipment, but placement should still consider bedroom windows, patios, property lines, and nearby neighbors.
Understand Permits, Rebates, and Project Costs
A heat pump project often involves permits for mechanical and electrical work. Permit requirements vary by town, and a licensed installer should handle the process and arrange required inspections. Permits are not a nuisance to skip. They help verify that electrical connections, refrigerant piping, clearances, and safety requirements are addressed correctly.
Equipment cost is only one part of the price. The final investment can also include electrical upgrades, new ductwork, duct modifications, condensate management, line-set routing, equipment pads, and removal or integration of existing heating equipment. A clear proposal should explain what is included so there are no surprises after work begins.
Mass Save rebates and available financing can make an energy-efficiency upgrade more manageable for qualified homeowners. Incentive eligibility can depend on the type of equipment, installation design, energy assessment requirements, and program rules at the time of installation. Ask early, because some steps may need to happen before the project is completed.
What Happens During Heat Pump Installation?
A well-organized installation starts with protecting work areas and confirming the final equipment locations. For a typical project, technicians install the outdoor unit, indoor air handler or ductless heads, refrigerant lines, electrical connections, condensate drains, and controls. Ducted projects may also include duct modifications and a thermostat upgrade.
Refrigerant piping must be correctly routed, pressure-tested, evacuated, and charged according to manufacturer specifications. These are not cosmetic details. Poor refrigerant practices can reduce capacity, damage equipment, and shorten system life.
Once the physical installation is complete, the system needs to be commissioned. Technicians should verify heating and cooling operation, airflow, electrical readings, drainage, controls, and any backup heat settings. If your system has multiple zones, each zone should be tested.
Before the crew leaves, ask for a walkthrough of the thermostat or remote controls, filter locations, and normal operating sounds. Heat pumps often run longer and at lower output than older furnaces, which is normal. Understanding that operating pattern prevents unnecessary concern when the system is working as designed.
Protect Performance After Installation
A heat pump needs regular maintenance, but it does not need complicated daily attention. Keep the outdoor unit clear of leaves, grass clippings, snow buildup, and stored items. Clean or replace indoor filters on the schedule recommended for your equipment and household conditions, especially if you have pets or construction dust.
Annual professional maintenance helps catch issues with electrical connections, coils, drainage, refrigerant performance, and airflow before they become comfort problems. For homes that use a heat pump as the primary heating source, scheduling service before the heavy heating season is a practical habit.
If you notice ice that does not clear after a defrost cycle, water leaking indoors, unusual noises, weak airflow, or rooms that no longer hold temperature, schedule service promptly. Waiting through a heating problem can turn a manageable repair into a no-heat call when the weather changes.
For homeowners and property managers, the best heat pump project is one that starts with accurate sizing, respects the building’s limits, and includes support after the installation. Durfee Plumbing & Heating can assess your comfort needs, explain practical options, and install a system designed for dependable Cape Cod performance. A thoughtful plan now gives you a more comfortable home when summer humidity and winter cold arrive.