
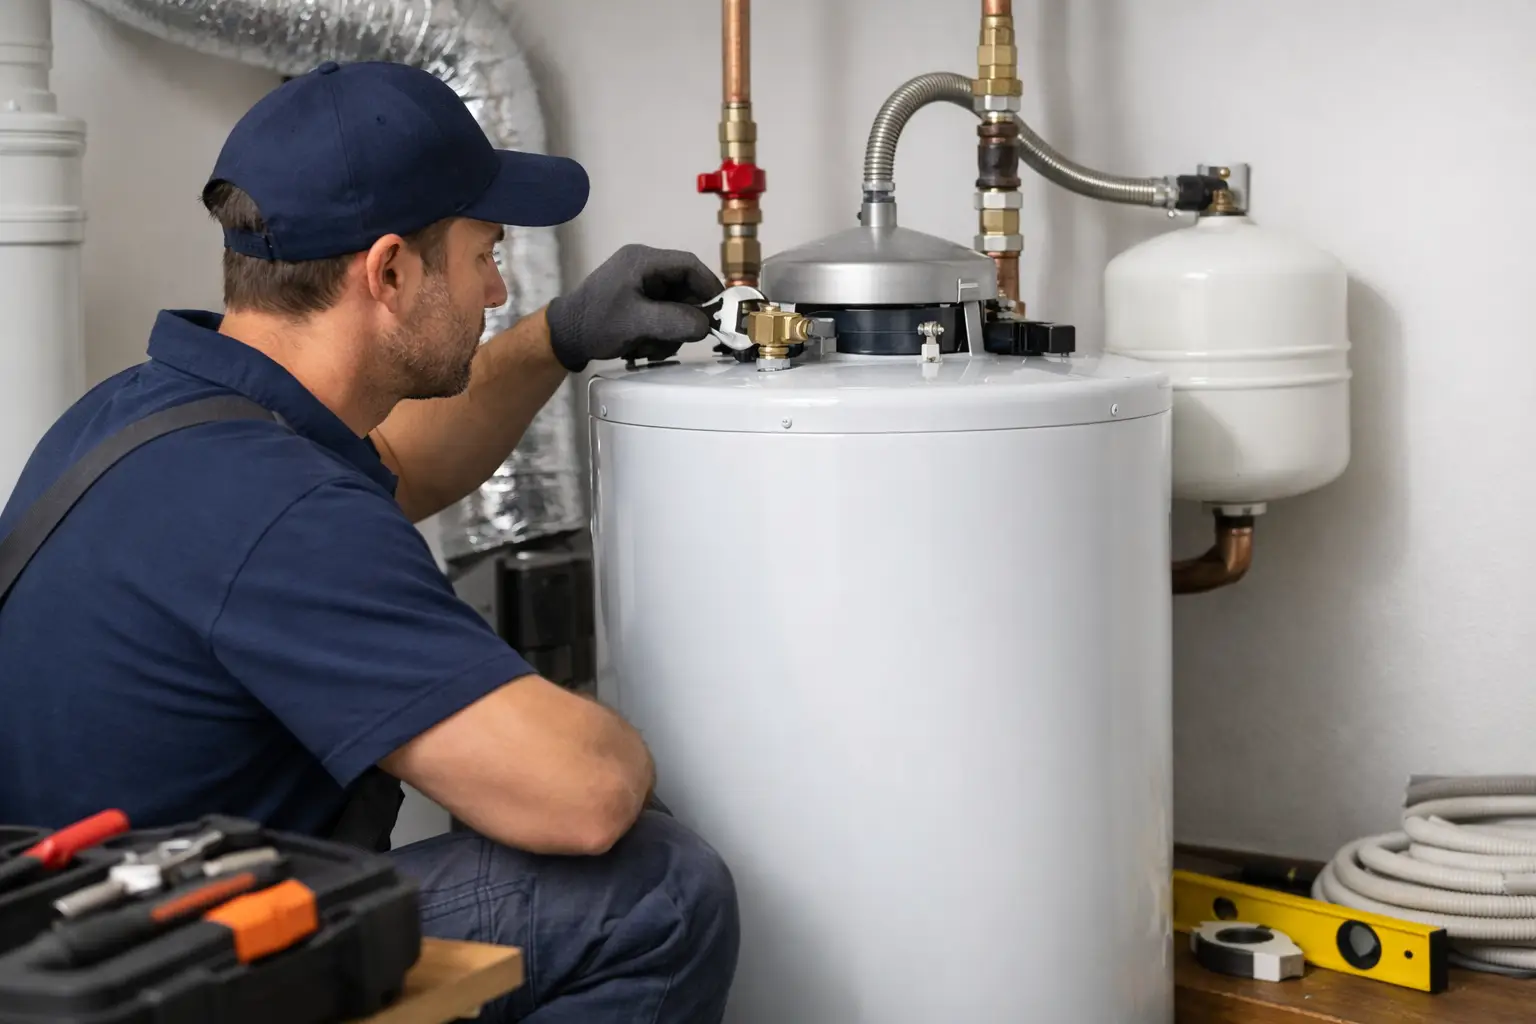
No one thinks much about a water heater until the shower turns cold or the tank starts leaking onto the basement floor. At that point, understanding the water heater installation process matters fast. Whether you're replacing a failed unit or planning an upgrade, the real question is not just what gets installed - it is how the job is handled, what safety steps are involved, and what makes one installation last longer than another.
What the water heater installation process really includes
A proper installation is more than setting a new tank in place and connecting a few pipes. The process starts with evaluating the building, the fuel source, the hot water demand, and the condition of the existing plumbing, venting, gas, or electrical connections. For homeowners and property managers, that matters because the new unit has to fit both the space and the way the property actually uses hot water.
A small household may do well with a standard tank model, while a larger home or commercial property may need higher recovery rates, multiple units, or a tankless system. In many Cape Cod homes, age of the property also plays a role. Older basements, tighter utility rooms, and existing venting layouts can all affect what type of water heater is practical and code-compliant.
Step 1: Choosing the right unit before installation starts
The first step in the water heater installation process is sizing and selection. This is where many future performance issues begin or get avoided. If the heater is too small, the household runs out of hot water. If it is oversized, the owner may pay more upfront and spend more than necessary on energy over time.
Tank water heaters are usually chosen based on gallon capacity and recovery rate. Tankless units are sized by flow rate and temperature rise. Heat pump water heaters bring strong efficiency benefits, but they need the right room conditions and enough surrounding air space to work properly. That means the best option is not always the newest or most advertised one - it depends on the building, usage patterns, and available utilities.
For many customers, fuel type drives the decision as much as budget does. Electric models can be simpler in some situations, but gas units often recover faster. If a switch in fuel type is involved, that can add work such as gas piping updates, electrical changes, or venting modifications.
Step 2: Removing the old water heater safely
Before the new heater goes in, the old unit has to come out. That starts with shutting off the power or gas supply and turning off the water. The tank is then drained, disconnected, and removed from the space.
This stage sounds simple, but it is often where hidden issues show up. Corroded shutoff valves, outdated vent connectors, undersized gas lines, failing drain pans, and water damage around the base of the old heater are all common findings. In some cases, an aging expansion tank or pressure relief setup also needs correction before the new installation can move forward.
If the old unit failed due to age alone, replacement can be straightforward. If it failed because of high water pressure, sediment buildup, or poor venting, those underlying problems should be addressed during the installation. Otherwise, the new heater may face the same short lifespan.
Step 3: Preparing the area for the new installation
Once the old unit is removed, the installation area gets checked and prepared. The floor needs to be stable and level. The clearances around the heater have to meet manufacturer specifications and local code. If a drain pan is required or recommended, this is when it is set in place.
This is also the point where the installer confirms whether any upgrades are needed for code compliance. That may include seismic or restraint requirements in some settings, proper combustion air, updated venting materials, a new shutoff valve, dielectric connections, or a thermal expansion tank.
For homes in coastal areas like Cape Cod, durability matters too. Moisture, salt air exposure, and seasonal occupancy patterns can all affect equipment life and maintenance needs. A thoughtful installation takes the environment into account, not just the appliance itself.
Step 4: Making the plumbing, gas, or electrical connections
Water line connections
After placement, the hot and cold water connections are made. These connections need to be secure, properly sized, and compatible with the system. Depending on the setup, that may involve copper, PEX, flex connectors, or a mix of materials.
The installer also checks for proper shutoff access and confirms that the pressure relief valve is installed correctly with an appropriate discharge line. That valve is a critical safety component. If pressure or temperature rises too high inside the tank, it helps prevent a dangerous failure.
Gas and venting connections
If the unit is gas-fired, the gas line must be connected, tested, and confirmed to meet demand. This is not an area for guesswork. An undersized or poorly connected gas line can affect burner performance, efficiency, and safety.
Venting is equally important. Different heaters require different vent materials and configurations. A standard atmospheric vent system is not the same as direct vent or power vent equipment. The vent has to draft properly and meet clearance requirements so combustion gases are carried out of the building the right way.
Electrical connections
For electric and heat pump water heaters, electrical service has to match the equipment requirements. Voltage, breaker size, wire sizing, and disconnects all need to be correct. Heat pump water heaters may also require condensate drainage, which adds another step to the installation.
Step 5: Filling, testing, and startup
With all major connections in place, the new water heater is filled and tested. The tank must be full before an electric model is energized, or the heating elements can burn out almost immediately. Once filled, the installer checks for leaks at all connections and confirms that valves, fittings, and relief components are operating as intended.
The startup process then depends on the heater type. Gas units are lit or electronically started and checked for proper combustion and venting. Electric units are powered on and tested for proper heating operation. Tankless units are programmed and verified for flow and temperature performance.
A quality startup is not rushed. Water temperature settings should be reviewed with the customer, especially in homes with children, older adults, or tenants. Higher temperatures improve storage performance but can increase scald risk. Lower settings can be safer and more efficient, but they may need to be balanced against household demand.
Permits, inspections, and code compliance
A lot of people ask whether permits are really necessary for a water heater replacement. In many cases, yes. The answer depends on the municipality and the scope of work, but permits and inspections are often required because water heaters involve plumbing, fuel, venting, and electrical safety.
That is one reason licensed installation matters. The water heater installation process should account for local code requirements from the start, not treat them as an afterthought. A professional installer knows what needs to be updated, what can stay, and where older systems often fall short of current standards.
This is especially valuable in older homes, mixed-use properties, and commercial settings, where a simple replacement can turn into a more involved project once code issues are uncovered.
How long installation usually takes
For a straightforward like-for-like replacement, installation may take only a few hours. If the new unit is the same general type and the existing connections are in good condition, the work moves quickly.
If the project involves changing from tank to tankless, converting fuel sources, relocating the heater, or correcting older plumbing and venting, it can take longer. The timeline also depends on access to the utility area and whether permit scheduling is part of the job.
For customers, the key point is this: fast service matters, but rushed work does not help. A dependable installation should restore hot water quickly without skipping the details that affect safety and long-term reliability.
What can change the cost
Installation cost depends on more than the heater itself. Labor, permit requirements, disposal of the old unit, venting updates, electrical work, gas line modifications, and code upgrades all affect the final number.
The type of heater matters too. A standard tank replacement is usually more predictable than a tankless conversion or heat pump water heater installation. Efficiency upgrades may cost more upfront, but rebates, lower operating costs, and financing options can make them more manageable over time.
That is why clear estimates matter. The best service experience is not just about a low initial price. It is about knowing what the job includes, what might come up, and what warranty protection comes with the work.
Why professional installation makes the difference
A water heater is one of those systems that looks simple from the outside but touches several parts of a building at once. Water, fuel, venting, pressure control, temperature settings, drainage, and code compliance all come together in one piece of equipment.
Professional installation reduces the chance of leaks, poor performance, venting problems, electrical issues, and premature failure. It also gives the owner a clearer path for maintenance, future repairs, and warranty support. For a home or business that depends on reliable hot water every day, that peace of mind is worth more than a shortcut.
If your current unit is aging, leaking, or struggling to keep up, the best next step is to treat replacement as a system decision, not just an appliance swap. Done right, the water heater installation process gives you more than hot water - it gives you safer operation, better efficiency, and fewer surprises when you need the system most.